
Troubleshooting Tips: Why Your Bottom Oven Isn’t Working While the Top Is
Ovens are integral in modern kitchens, allowing homeowners to cook and bake with ease. For those with a double oven setup, both the top and bottom ovens make meal preparation more efficient. You can make multiple dishes at the same time at different temperatures!
Unfortunately, many face the issue of a bottom oven not working but the top is, which limits cooking capacities. Understanding the causes of this malfunction is the first step to effectively troubleshooting and fixing the problem.
Common Causes of Bottom Oven Malfunctions
Household situations involving a failing bottom oven have three probable causes that you can check before calling an appliance technician for repairs.
1. Electrical Issues
The most prevalent electrical problem is a tripped circuit breaker, which occurs if you overload the oven or have a short circuit within the electrical wiring. When a breaker trips, it cuts off power to the specific section of the appliance, leaving one part, like the bottom oven, non-functional.
Additionally, blown fuses in the oven’s control panel can prevent the bottom section from heating, as these fuses manage the oven’s power distribution. Faulty wiring or loose connections can also disrupt the power supply to the bottom oven, causing intermittent function or complete failure.
2. Heating Element Problems or Igniter Problems (Gas)
Heating elements convert electrical energy into heat to cook food. When they fail, you will struggle with a significant decrease in oven performance. Some signs of a faulty bottom heating element include the following:
- Oven not heating properly
- Uneven cooking
- No heat emission
- Visible damage
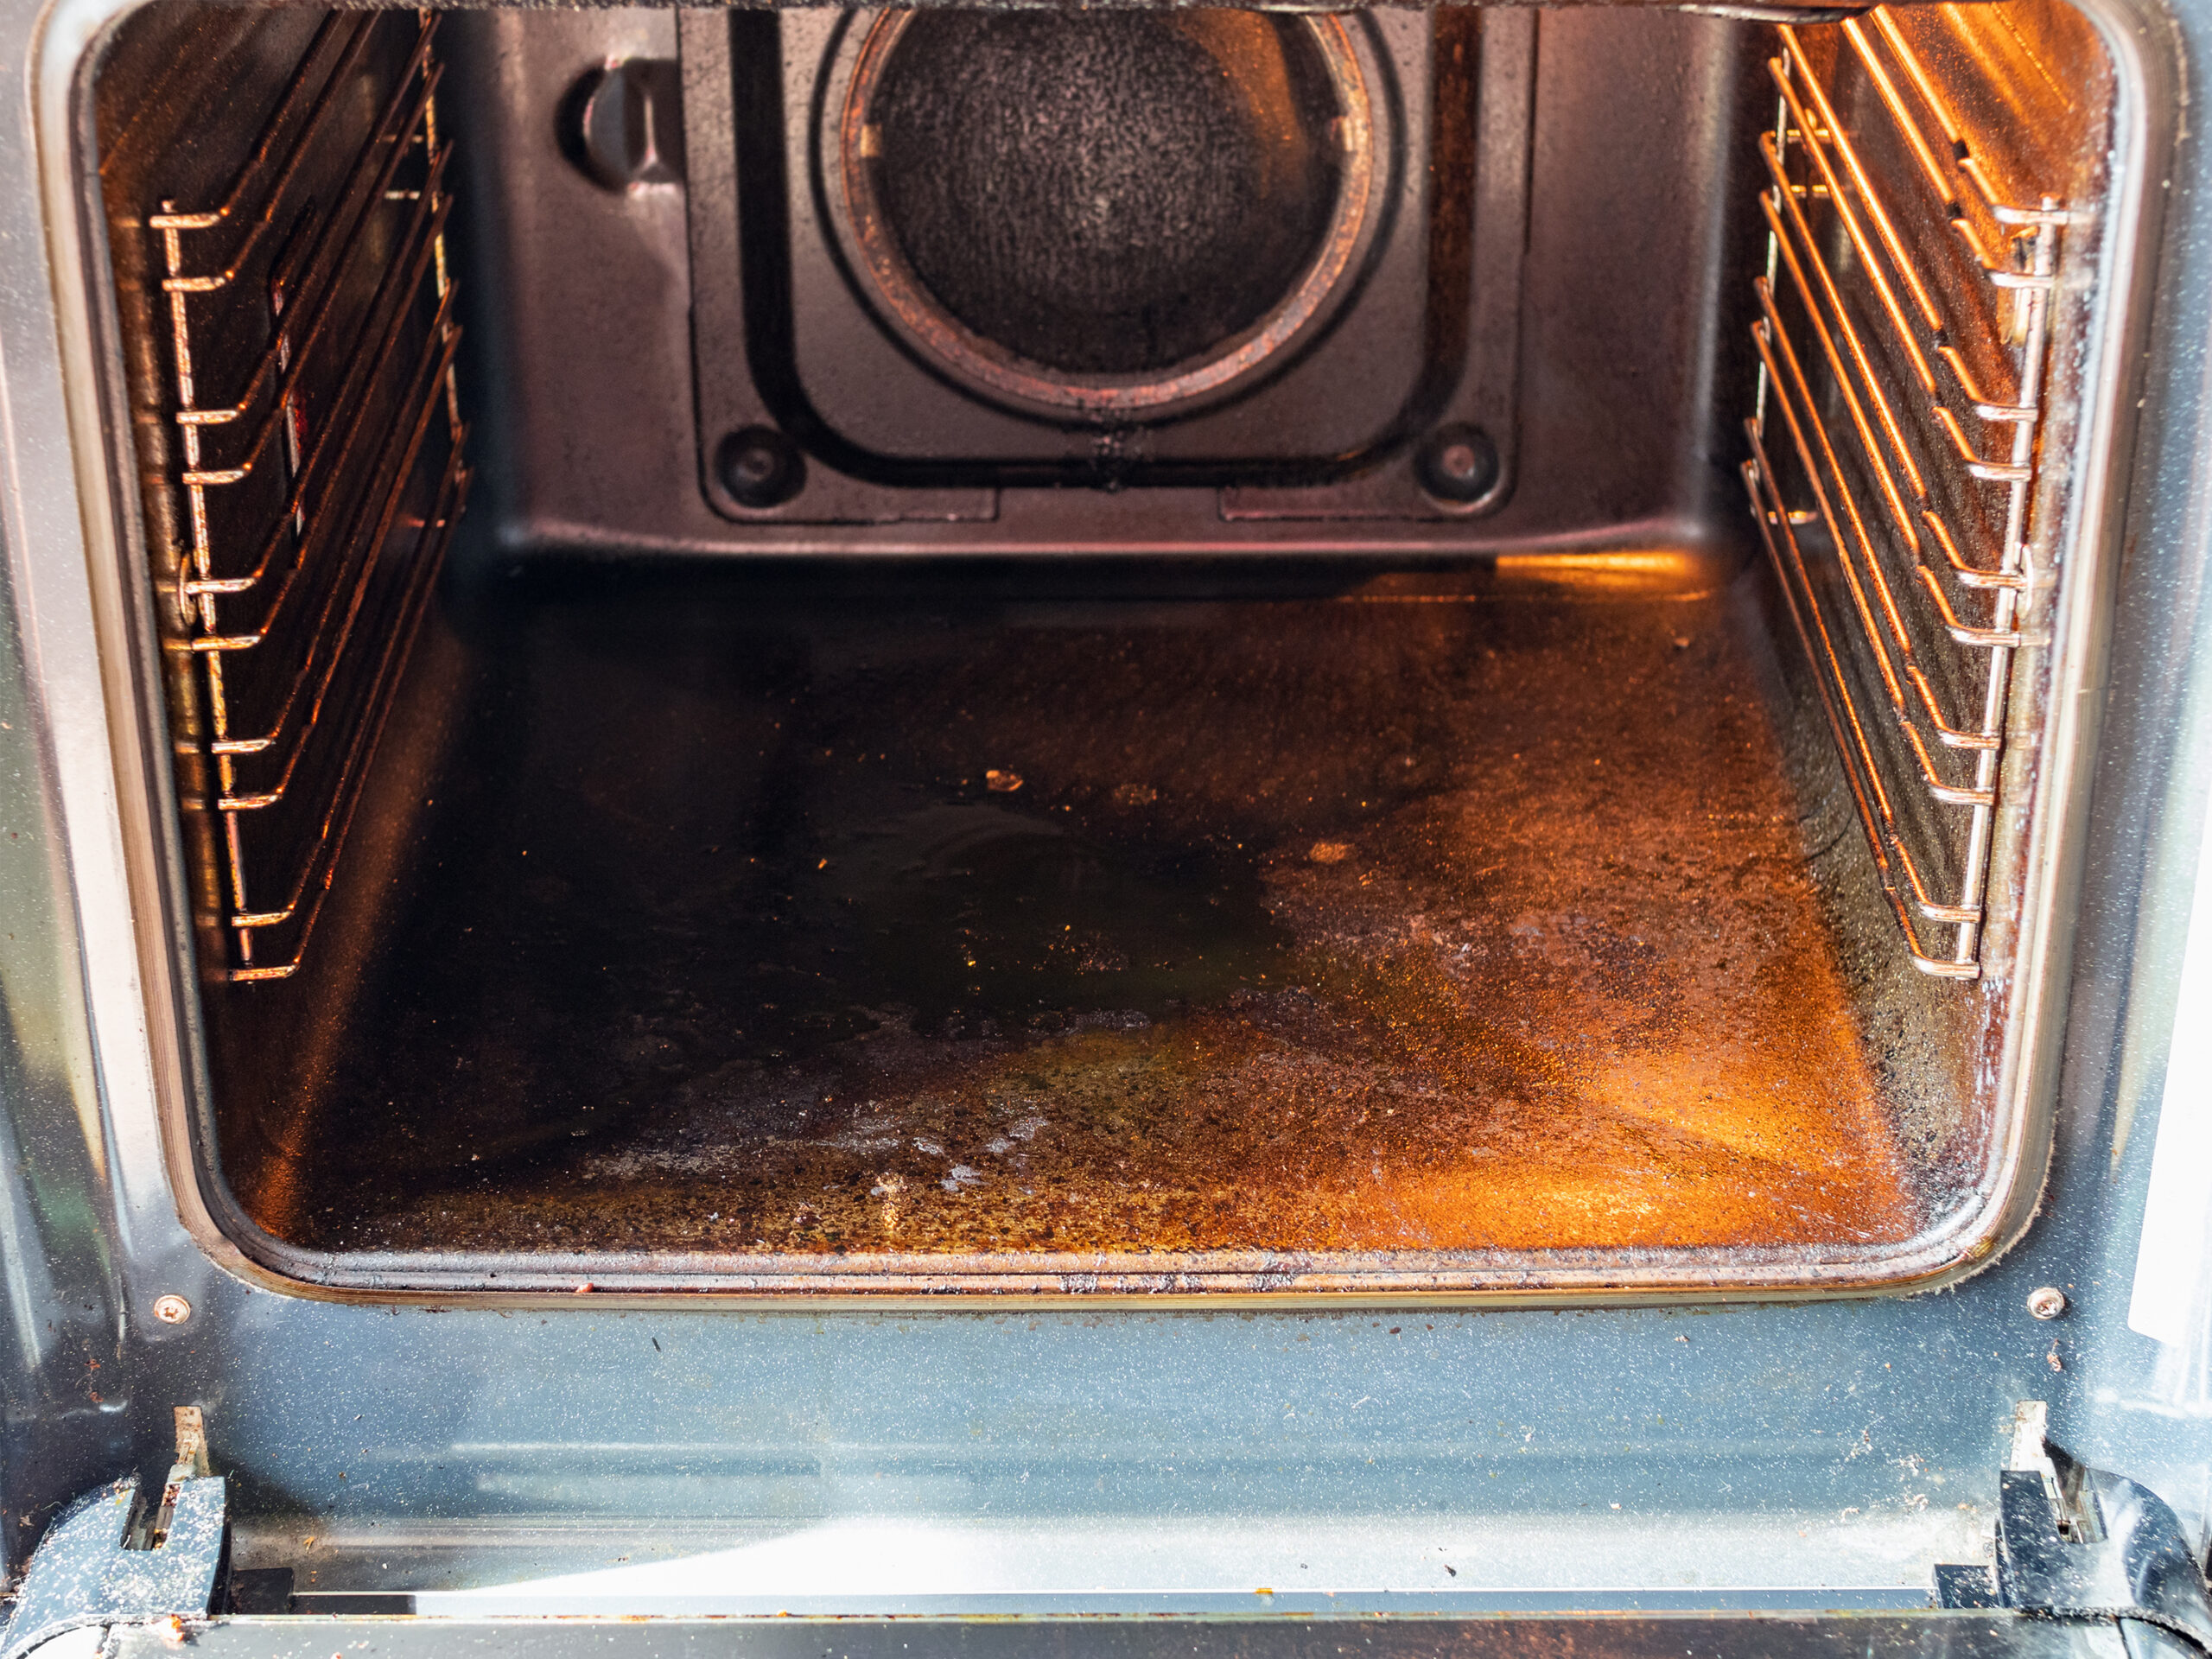
Inspect your bottom oven’s heating element by turning the unit off and allowing it to cool down completely. Next, locate the heating element, typically a metal rod running along the bottom wall, and look for cracks, breaks, or any irregularities. You may also check for loose wiring connections impairing the element. If you have a gas oven, check for a visible flame. Be wary of what is called a “false glow”. This is an instance where the igniter will start to heat enough where you will see “red” but does not remain engaged long enough for the flame to ignite.
3. Temperature Sensor Failure
The oven temperature sensor works with the thermostat to ensure the unit maintains the correct cooking temperature. When the thermostat activates the heating element, the sensor measures the temperature and sends feedback to the control board to adjust the heating elements accordingly. Symptoms of a malfunctioning temperature sensor manifest in your cooking results.
You might notice the oven overheating or not reaching the desired temperature, leading to undercooked or overcooked dishes. Another sign of trouble is if the oven shows error codes related to temperature issues on the display panel. Inconsistent temperature readings can also cause the oven to cycle on and off irregularly, disrupting the cooking process.
Quick Troubleshooting Steps
If your bottom oven is not working but the top is, follow these quick troubleshooting steps to determine if it is something you can fix on your own or you need professional help:
- Step 1: Reset the Oven. Unplug the oven from the electrical outlet and leave it for a few minutes before plugging it back in. This process allows the internal components to reset, potentially resolving minor software glitches or electrical issues.
- Step 2: Inspect Settings and Elements. See if you have set the oven to the correct mode for your cooking needs, such as bake or broil. Sometimes, accidentally changing the mode prevents the unit from operating as you expect it to. When preheating, visually inspect the heating elements. No matter the setting, while preheating both the bake and broil elements will heat up until it reaches the set temperature. If only one element is engaged, it is most likely a faulty bake or broil element. If neither engage, it is more likely to be a control board failure.
- Step 3: Conduct a Self-Diagnosis. Use the self-diagnostic feature if available. Take note of your appliance’s model number and refer to the owner’s manual or online resources to discover how to engage self diagnostics (oftentimes it is a sequence of button inputs). Enter diagnostic mode and let your unit perform a series of checks and display error codes. This tip can save time and effort by pinpointing the exact malfunction without manually inspecting multiple components.
When To Call a Professional
If you can successfully make your bottom oven work again, you save yourself a hefty repair bill. However, not all attempts hit the mark, and the best course of action is to call an expert.
If issues persist despite troubleshooting, the problem could lie with the internal components, requiring specialized tools and knowledge to fix. Moreover, if you notice unusual noises or smells coming from the oven when in use, seek professional help as soon as possible for safety reasons.
At BA Appliance Repair Service, we understand how ovens work, inside and out. Explore our Cincinnati oven repair services for expert assistance.
Contact BA Appliance Repair Service
Ovens fulfill many purposes in your home, and their sudden breakdown can throw a wrench into your daily routine. Fortunately, you do not have to wait days to get your unit back up and running. BA Appliance Repair Service can do thorough diagnostics and repairs and return your oven to its reliable state. Book a professional assessment with our seasoned technicians today!
Wrapping Up
With your bottom oven not working but the top is, timely intervention is a must to maintain safety and functionality. The earlier you identify and resolve minor problems, the sooner you can use your unit again, and the less likely the damage will escalate.
When the solution is beyond DIY troubleshooting, trust BA Appliance Repair Service to take over. We serve Cincinnati neighborhoods with repair services that get you back to cooking again, from oven to stove top repairs.